rails基本操作まとめ
プログラミング初学者の私が、初学者目線でrailsの基本操作についてまとめました。
ページを作成
rails generate controller welcome index
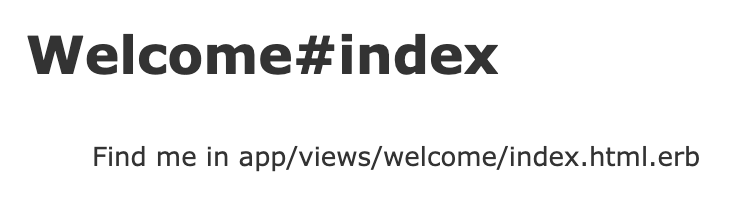
welcomeという名前のページが作成された。
作成ページをトップページにする
config/routes.rbに、root 'welcome#index'を記述する
Rails.application.routes.draw do
  get 'welcome/index'

  resources :articles
  root 'welcome#index'
  # For details on the DSL available within this file, see http://guides.rubyonrails.org/routing.html
end
リンクを貼る
- 例
<%= link_to 'Show list', articles_path %>
基本的な書き方は以下。
link_to 'リンク文字列', リンク先のパス(URL)
ルーティングの名前でリンク先を指定する
こちらが最も一般的で基本的な使い方で、同じアプリケーション内へのリンクを作成する場合はこちらを使う。
ルーティングの名前を確認するrake routesコマンドを実行。
rake routes
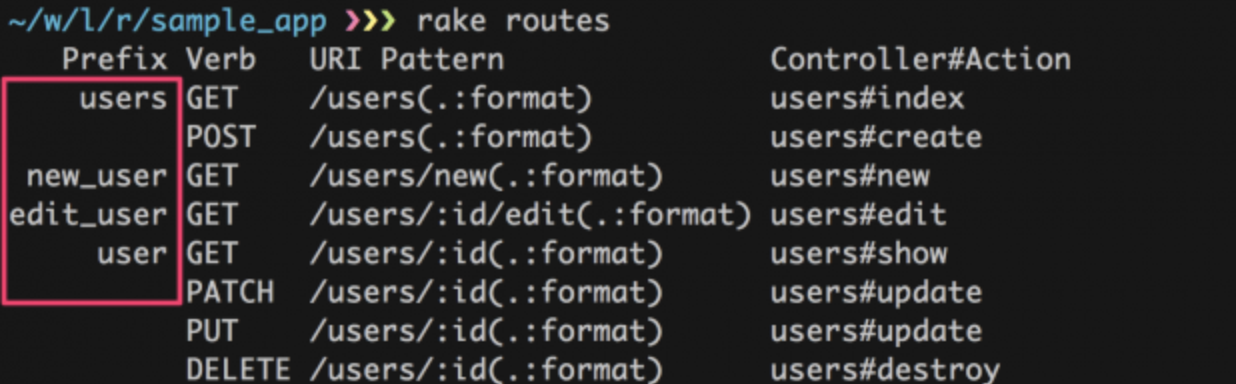
赤い枠で囲った部分がルーティングの名前。 例えば、users_controllerのnewアクション(新規作成画面)にリンクを貼りたいときは
<%= link_to '新規作成’, new_user_path %>
と書く。
外部のURLやパスを指定する場合
外部のサイトのURLや同じアプリケーション内のパスを指定するときは次のように書く。
<%= link_to 'Yahoo', 'http://www.yahoo.co.jp/' %>
<%= link_to 'ユーザー一覧’, ‘/users/index’ %>
リンク先のパスに、URLやアクションをそのまま記述する。
カラムを追加する手順
MVC(model, views, controller)を順に修正する必要がある。
①modelの変更
データベースを含めてモデルを変更するには、以下のコマンドを実行
rails generate migration AddNameToArticle name:string
書式は以下。
rails generate migration Addカラム名Toディレクトリ名 name:string
以下で、データベースに反映させる。
rails db:migrate
②viewsの変更
次に見た目の変更をする。 viewsではすでにあるカラムに倣って、追記すればOK
例えば元々contentカラムがあって、nameカラムを追加したい場合は
viewsファイル内で、
<td><%= article.content %></td>
を
<td><%= article.content %></td>
<td><%= article.name %></td>
のように新規カラムを、元あるカラムの記述に倣って追記する。
③controllerの変更
controllerを変更しないと、新規で追加したカラムの内容を新規作成や修正をしても、内容をモデルに書き込んでいないので、反映されない。(グローバル変数 @hoge に関連づけられていない) そのためcontrollerを修正する。
controllerファイルの一番下の方に、モデルについての記述がある。
 def article_params
      params.require(:article).permit(:content)
 end
もしnameカラムを今回追加したなら、下記のようにnameの記述を追記する。
 def article_params
      params.require(:article).permit(:content, :name)
 end
一度にmvcを修正すると、間違っていたとき誤り箇所を見つけるのが大変だから、 viewsまで修正したら一度、修正内容が反映されているか、確認したほうが良いと思う。
rails console
rubyのコマンドをそのまま実行できる
rails c
irb(main):001:0> p "hello world"
"hello world"
=> "hello world"
irb(main):002:0>
rails cを使えば、ブラウザ上でデータを追加しなくても、ターミナル上で追加できたりする。
例えばデータベースの内容を書き換える場合は、以下のようにする
irb(main):005:0> article = Article.find(2) # articleにidが2に該当するデータを代入
irb(main):006:0> article.content
=> "hello world" # contentキーに該当する部分
irb(main):007:0> article.content = "hello console" # contentキーの該当部分を変更
irb(main):008:0> article.save # 変更内容を保存する。
irb(main):009:0> article.content
=> "hello console" # 変更されたことを確認。
ちなみにallメソッドで、データベースの全データを見れる。
 irb(main):007:0> articles = Article.all
 irb(main):007:0> articles.each {|article| p article}

  Diary Load (0.3ms)  SELECT "diaries".* FROM "diaries"
=> #<ActiveRecord::Relation [#<Diary id: 1, content: "hello world", created_at: "2022-10-26 00:00:00", updated_at: "2022-10-26 00:00:00", name: "gino">, #<Diary id: 2, content: "hello ruby", created_at: "2022-10-26 00:00:00", updated_at: "2022-10-26 00:00:00", name: "paiza">, #<Diary id: 3, content: "hello rails", created_at: "2022-10-26 00:00:00", updated_at:"2022-10-26 00:00:00", name: "gino">]>
ちなみに、controllerファイルの@articlesは、ハッシュの形で全データを取り出している。
 def index
    @articles = Article.all
 end
ActiveRecord

ルーターの設定
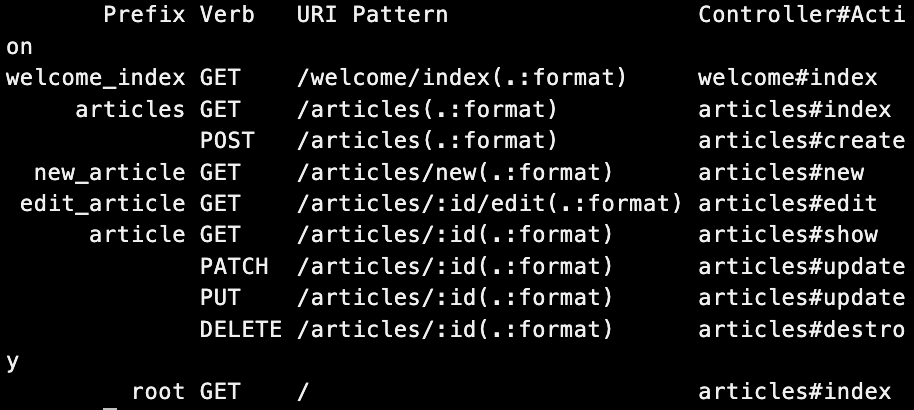
rails routesコマンドで、ルーターの設定を確認できる。
ルーターとはRails アプリへのアクセスを振り分けること。
       Prefix Verb   URI Pattern                  Controller#Action
welcome_index GET    /welcome/index(.:format)     welcome#index
     articles GET    /articles(.:format)          articles#index
              POST   /articles(.:format)          articles#create
  new_article GET    /articles/new(.:format)      articles#new
 edit_article GET    /articles/:id/edit(.:format) articles#edit
      article GET    /articles/:id(.:format)      articles#show
              PATCH  /articles/:id(.:format)      articles#update
              PUT    /articles/:id(.:format)      articles#update
              DELETE /articles/:id(.:format)      articles#destroy
         root GET    /                            welcome#index
- routes.rb このファイルを設定することで、ルーターの設定を修正できる。
Rails.application.routes.draw do
# welcome/indexにアクセスしたとき同じ名前のコントローラのindexにアクセスするという設定。
  get 'welcome/index'

# resoucesは、articlesコントローラに対する設定を自動生成する。(routes.rbが作成されたときに勝手に作られる。)
  resources :articles

# URLに何もつけずにリクエストしたとき、rootで記述したコントローラが呼び出される。
  root 'welcome#index'
end
コントローラファイルの記述
自動生成されたcontrollerファイルは、下記のshowアクションのように何も記述がされていないにも関わらず、showアクションが実行できるのは何故だろうか。
class ArticlesController < ApplicationController
  before_action :set_article, only: [:show, :edit, :update, :destroy]

  def index
    @articles = Article.all
  end

  def show
  end
実は2行目のbefore_actionで各アクションの前に自動で実行するプログラムが記述されている。このbefore_actionの設定はコントローラファイルの下の方にあるprivateに記述されている。
 private
    def set_article
      @article = Article.find(params[:id])
    end
end
つまり、特定のidに合致するものが@articleに格納されている。params[:id]にはwebブラウザから送信されたパラメータが格納されている。
ヘルパーメソッドの解説
ヘルパーメソッドとは
ヘルパーメソッドは下記のようなリンクについての記述のこと
<%= link_to 'Edit', edit_article_path(@article) %> |
<%= link_to 'Back', articles_path %>
ヘルパーメソッドのpathの指定方法
rails routesでpathで指定できるもの一覧が表示できる。
Prefixカラムに記載されているものが、pathとして利用できる。
例えば、articleというpathが用意されているので、下記のようなpathの書き方ができる。
<%= link_to 'Back', article_path %>
検索フォームの追加
検索した用語にヒットするデータのみを絞り出す機能を追加したい。
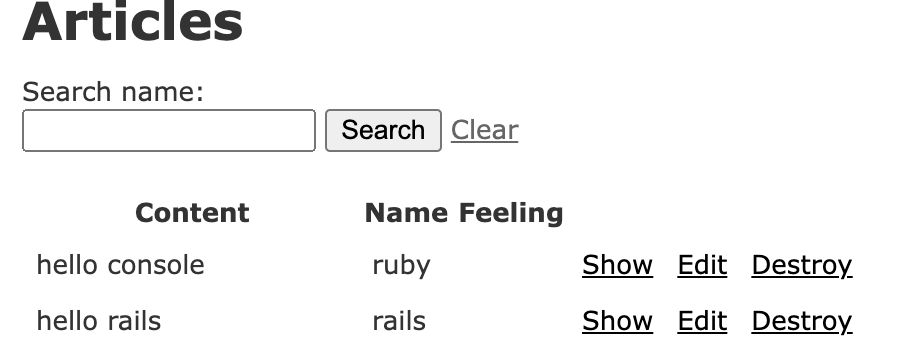
手順1. viewsに検索フォームを追加する
<%= form_tag('/articles', method: 'get') do %>
<%= label_tag(:name_key, 'Search name:') %>
<%= text_field_tag(:name_key) %>
<%= submit_tag('Search') %> <%= link_to 'Clear', articles_path %>
<% end %>
手順2. コントローラのindexメソッドに検索コードを追加する
def index
  if params[:name_key]
    @articles = Article.where('name LIKE ?', "%#{params[:name_key]}%")
  else
    @articles = Article.all
  end
end
作成したrailsアプリ2つを関連づける
関連づけるとは、バラバラに作成されたページ同士を関連づけること。 例として、カテゴリリストとお店リストを作成して、関連づける。
手順1. 関連づけるリスト2つをscaffoldで作成する。
rails generate scaffold category name:string
rails db:migrate
- localhost:3000/categories
rails generate scaffold shop category_id:integer name:string address:string
rails db:migrate
- localhost:3000/shops
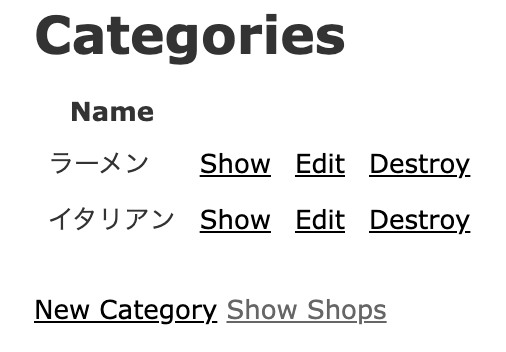
手順2. viewsファイルでそれぞれのリストに行き来できるリンクを貼る
- app/views/categories/index.html.erb
<%= link_to 'Show Categories', categories_path %>
- app/views/shops/index.html.erb
<%= link_to 'Show Shops', shops_path %>
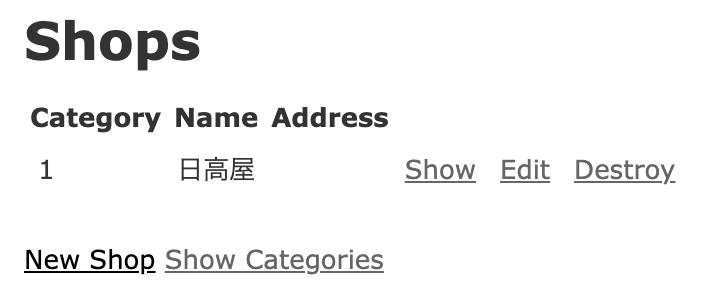
カテゴリ名にidが入ってしまっているので、ここを直していく。
手順3. modelに入れ子(親子)関係の記述を行う
親の場合。
- app/models/category.rb
class Category < ApplicationRecord
  has_many :shops
end
子の場合
app/models/shop.rb
class Shop < ApplicationRecord
  belongs_to :category
end
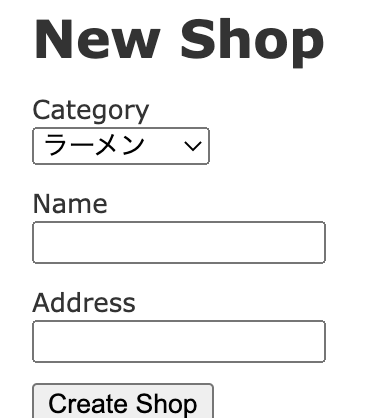
手順4. 登録時にカテゴリを選択できるようにする
登録・修正フォームで、カテゴリを選択できるようにするには、次のように記述する。 (子のviewsの方で、登録時に親のどのidに関係するかを選択できるようにする) - app/views/shops/_form.html.erb
<div class="field">
  <%= f.label :category_id %>
  <%= f.select :category_id, Category.all.map{|o| [o.name, o.id]} %>
</div>
これで、登録時にカテゴリを選べるようになった。
google mapを組み込んでみる。
API Application Program Interfaceの略。別のプログラムを呼び出すために用意された、命令や関数のことを指す。
app/views/shops/show.html.erb
基本的にはviewsファイルにリンクを貼るだけで使用できる。 使用するにはAPIキーを取得する必要がある。
<%= content_tag(:iframe, 'map', src:'https://www.google.com/maps/embed/v1/place?key=AIzaSyCJBgcuCowQa5-V8owXaUCHhUNBN8bfMfU&q=' + @shop.address, width: 800, height: 400, frameborder: 0) %>

<br>
例. googleのAPIキー取得手順。 1. Google Developers Consoleにアクセスする
Google Developers Console https://console.developers.google.com/
- プロジェクトを作成を選択
- Google APIが表示されたら、Google Maps APIから「Google Maps Embed API」を選択
- 「有効にする」をクリック
- 「認証情報を作成」をクリックして、「必要な認証情報」ボタンをクリック
- 表示されたAPIキーを記録する
devise導入手順
手順1. インストール
まずはgemをインストール。
gem 'devise'
その後deviseをインストール。
rails g devise:install
手順2. デフォルトURLを追加する
- config/environments/development.rb
config.action_mailer.default_url_options = { host: 'localhost', port: 3000 }
を追記。(追記箇所はRails.application.configure do~endの中ならどこでも)
手順3. root_urlを指定する
config/routes.rb
root 'welcome#index'
手順4. フラッシュメーセージの表示場所を作る
app/views/layouts/application.html.erb body部を下記に変更
<body>
  <p class="notice"><%= notice %></p>
  <p class="alert"><%= alert %></p>
  <%= yield %>
</body>
手順5. ユーザ認証用のviewを生成する
rails g devise:views
このコマンドで、viewsのしたにdeviseディレクトリが生成される。
- ログイン: app/views/devise/sessions/new.html.erb
- サインアップ: app/views/devise/registrations/new.html.erb
- ユーザ情報変更: app/views/devise/registrations/edit.html.erb
- パスワード変更: app/views/devise/passwords/edit.html.erb
- メール認証: app/views/devise/confirmations/new.html.erb
- パスワードリセット: app/views/devise/passwords/new.html.erb
- アカウントアンロック: app/views/devise/unlocks/new.html.erb
deviseにユーザ認証用のUserモデルを作成する。
ログインするユーザを管理するため、userモデルが必要になる。
手順1. userモデルを作成する。
rails g devise User
$ rails db:migrate
手順2. deviseに初期ユーザを一括登録(ユーザの初期登録が必要ならば)
db/seeds.rb
下記のような書式で記載する。何人分書いてもok
User.create(email: 'admin@gmail.com', password: 'password')
User.create(email: 'kirishima@gmail.com', password: 'password')
ちなみにUserはモデル名なので、モデル名によって書き換える。
モデル名.create(email: 'admin@gmail.com', password: 'password')
その後、下記コマンドで、dbに反映させる。
rails db:seed
deviseを使ってログアウト機能を追加する
deviseで作成したユーザー認証機能にログアウト機能を追加します。
app/views/welcome/index.html.erb
<% if user_signed_in? %>
  Logged in as <strong><%= current_user.email %></strong>.
  <%= link_to "Settings", edit_user_registration_path %> |
  <%= link_to "Logout", destroy_user_session_path, method: :delete %>
<% end %>
ログインページに強制移動
app/controllers/welcome_controller.rb
class WelcomeController < ApplicationController
  before_action :authenticate_user!
  def index
  end
end
ログイン時だけ、編集などができる。
- articles_controller.rb
下記の1文を追加することで、ログインしているユーザーしかnew, create, edit, update, destroyができないようにする。
before_action :authenticate_user!, only: [:new, :create, :edit, :update, :destroy]
強制ログインページ飛ばし、フラッシュメッセージ設定の記述
layoutで、強制ログインページ飛ばし、フラッシュメッセージ設定の記述をする。
- app/views/layouts/application.html.erb
````
ユーザがログインしていないなら強制的にログイン画面に飛ばす
  <% if user_signed_in? %>
    Logged in as <strong><%= current_user.email %></strong>.
    <%= link_to "Settings", edit_user_registration_path %> |
    <%= link_to "Logout", destroy_user_session_path, method: :delete %>
  <% else %>
    <%= link_to "Sign up", new_user_registration_path, :class => 'navbar-link' %> |
    <%= link_to "Login", new_user_session_path, :class => 'navbar-link' %>
  <% end %>
フラッシュメーセージの設定
  <p class="notice"><%= notice %></p>
  <p class="alert"><%= alert %></p>
  <%= yield %>
</body>
userモデルにカラムを追加する.(userプロフィールの項目を増やす)
手順1. userモデルにカラムを追加。
rails g migration AddNameToUser name:string
rails db:migrate
手順2. コンソールで確認
コンソールで、カラムが追加できたか確認。
rails console
User.all
カラムが追加されている↓
name: nil>
手順3. サインアップ画面とユーザ情報変更画面に、カラムを追加する。
viewsを編集して、追加したカラムが表示されるようにする。
なお、registrationsはユーザ情報に関するディレクトリ。
- app/views/devise/registrations/new.html.erb
<div class="field">
  <%= f.label :name %><br />
  <%= f.text_field :name %>
</div>
- app/views/devise/registrations/edit.html.erb
<div class="field">
  <%= f.label :name %><br />
  <%= f.text_field :name %>
</div>
これで、カラム追加は完了。ただし、このままでは新規追加したカラムに値を入力してもDBに保存されていない状態。
手順4. Userモデルに新規追加したカラムを、DBに保存できるようにする。
app/controllers/application_controller.rb
class ApplicationController < ActionController::Base
  protect_from_forgery with: :exception

  # ユーザ認証のアクションを呼び出しているか判別して、configure_permitted_parametersメソッドを呼ぶ
  before_action :configure_permitted_parameters, if: :devise_controller?

# protectedは以下のメソッドを外部からアクセスできないよう指定している。
  protected

# サインアップ時と編集時、不正なコードが含まれていないかをチェックしている。
  def configure_permitted_parameters
    devise_parameter_sanitizer.permit(:sign_up, keys: [:name])
    devise_parameter_sanitizer.permit(:account_update, keys: [:name])
  end
end
[:name]の部分はカラムによって変わる。例えば、imageカラムを追加したなら、[:image]と言うふうにカラム名を記載する。
ログインしているユーザ名で投稿を保存する
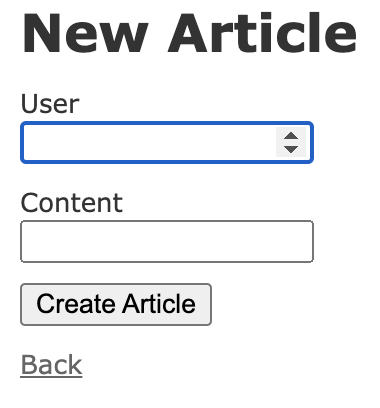
今、新規作成のページでUserを選択できるようになっている。これをログインしているユーザに自動的になるよう編集したい。
手順1. viewsファイルを編集
app/views/articles/_form.html.erbで、Userのラベルの記述部分を消す。
手順2. createメソッドを編集
- app/controllers/articles_controller.rb
def create
  @article = Article.new(article_params)
を
def create
  @article = Article.new(article_params)
  @article.user_id = current_user.id
のように追記する。こうすることで、新規作成されたuser_idに、現在のユーザidを代入することができる。
投稿したユーザーだけが自分の記事を編集・削除できるようにする
自分の記事以外も編集、削除ボタンが選択できるようになってしまっている。 自分以外の記事を編集削除したとき、エラーになるようにしたい。
controllerファイルで、編集削除アクションの実行を、
if @article.user_id == current_user.idの時だけ実行するようにする。
こうすれば、ログインしているユーザーのみ、そのユーザが書いた記事を編集できる。
- 例. 編集アクション
def update
    if @article.user_id == current_user.id
      respond_to do |format|
        if @article.update(article_params)
          format.html { redirect_to @article, notice: 'Article was successfully updated.' }
          format.json { render :show, status: :ok, location: @article }
        else
          format.html { render :edit }
          format.json { render json: @article.errors, status: :unprocessable_entity }
        end
      end
    else
        redirect_to @article, notice: "You don't have permission."
    end
end
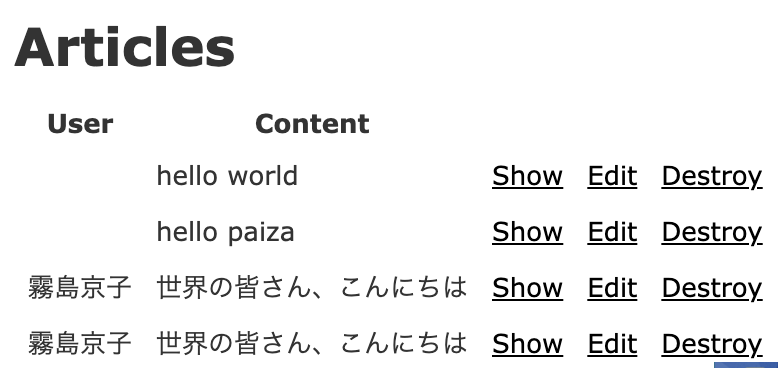
ログインユーザ以外の記事は、編集削除ボタンを非表示にする。
編集削除リンクの箇所を、編集する。
- app/views/articles/index.html.erb
<% if user_signed_in? && article.user_id == current_user.id %>
    <td><%= link_to 'Edit', edit_article_path(article) %></td>
    <td><%= link_to 'Destroy', article, method: :delete, data: { confirm: 'Are you sure?' } %></td>
<% end %>
こうすることで、ログインユーザの記事のみ編集削除ボタンが表示される。
アカウント編集ページで自分のメールアドレスとパスワード、郵便番号、住所と自己紹介文を編集できる(自分以外のユーザーの情報は編集できないこと)
参考: https://qiita.com/gogotakataka1234/items/b094f08583af22e6d26d
手順1. devise_create_users.rbにカラム名とデータ型を追記。
- db/migrate/20~~~~~devise_create_users.rb
def change
    create_table :users do |t|
      ## Database authenticatable
      t.string :email,              null: false, default: ""
      t.string :encrypted_password, null: false, default: ""
      t.integer :post_code
      t.string :address,            null: false, default: ""
      t.text :self_introduction,    null: false, default: ""
以下略
rails db:migrate
手順2. viewファイルを修正。
下記のように、追加したいカラムを追記する。
<div class="field">
    <%= f.label :post_code %><br />
    <%= f.number_field :post_code, autofocus: true, autocomplete: "post_code" %>
  </div>
手順3. 追加したいカラムをストロングパラメータに設定する。
メールアドレスとパスワードは、devise導入の時点でデフォルトでストロングパラメータに設定されている。ストロングパラメータじゃないと、DBに保存されないので、追加したカラムをストロングパラメータに設定する。 - app/controllers/application_controller.rb
class ApplicationController < ActionController::Base
  protect_from_forgery with: :exception

  before_action :authenticate_user!
  before_action :configure_permitted_parameters, if: :devise_controller?

  protected

  def configure_permitted_parameters
  devise_parameter_sanitizer.permit(:sign_up, keys: [:post_code])
  devise_parameter_sanitizer.permit(:sign_up, keys: [:address])
  devise_parameter_sanitizer.permit(:sign_up, keys: [:self_introduction])
  devise_parameter_sanitizer.permit(:account_update, keys: [:post_code])
  devise_parameter_sanitizer.permit(:account_update, keys: [:address])
  devise_parameter_sanitizer.permit(:account_update, keys: [:self_introduction])
  end
end
ブラウザ上で、郵便番号、住所、自己紹介文を記載できることを確認した。
また、rails cでDBにもちゃんと保存されていることを確認。
validateで、文字数制限をかける。
app/models/user.rbで、バリデーション設定をする。
class User < ApplicationRecord
  # Include default devise modules. Others available are:
  # :confirmable, :lockable, :timeoutable, :trackable and :omniauthable
  devise :database_authenticatable, :registerable,
         :recoverable, :rememberable, :validatable

  validates :post_code, length: { minimum: 1, maximum: 20 }
  validates :address, length: { minimum: 1, maximum: 50 }
  validates :self_introduction, length: { minimum: 1, maximum: 100 }
end